


Are you nuts?
.jpg)
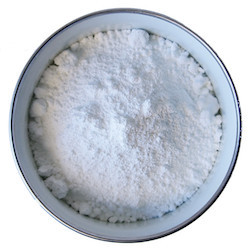
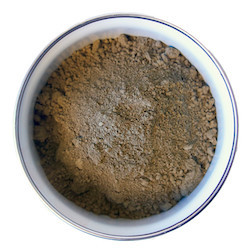
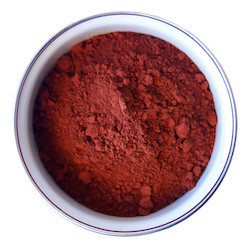
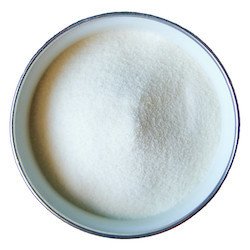
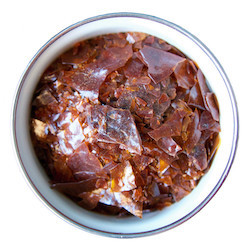
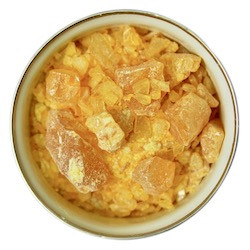
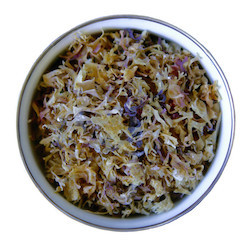
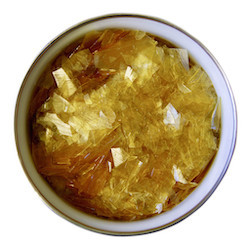
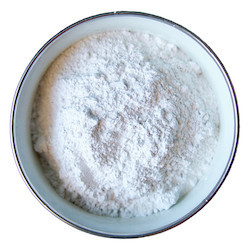
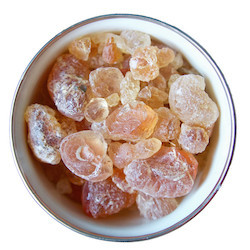
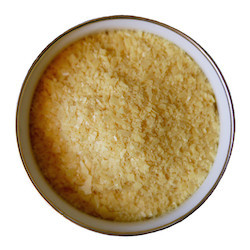
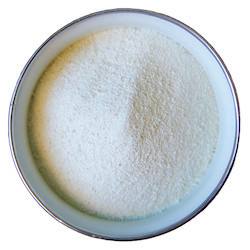
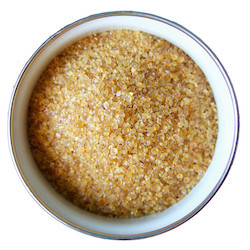
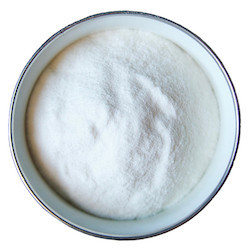
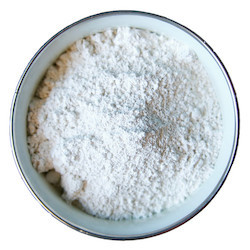
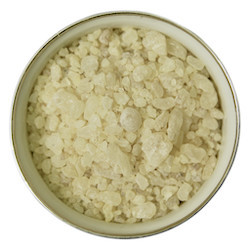
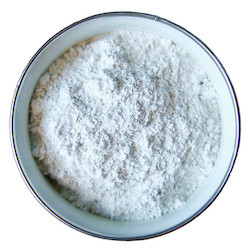
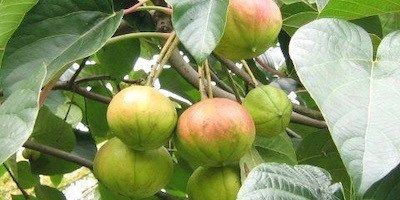
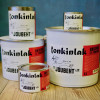
Tonkin varnish originates from China, Japan and Indonesia. Here grows the beautiful white-flowered tree-oil tree, it is a bit like an apple tree, as it also bears fruit. And it is within these fruits that one finds the "Tung nuts". It is these nuts that are the source of tung oil. The nuts are pressed under great pressure, and are subsequently filtered. It gives a golden brown oil with completely unique properties. The oil is like linseed oil, a drying oil. However, it is rarely used in its pure form. It is often mixed with other oils or turpentine products to achieve the desired properties one are looking for. And here Tonkin varnish is a good example. Tonkin lacquer is a product composed of linseed oil and tung oil, the oils are boiled together at about 300 degrees in large cooking vessels, this process causes the 2 oils to fuse and form a unique, durable and water-repellent oil lacquer.
.jpg)
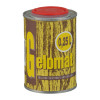
In Europe, the varnish has been produced from a specific factory located in Paris since 1906. This long-standing chapter in the paint's history, however, ended a few years ago when the then owner retired, and he could not find anyone in the family to take over. He therefore sold the rights, and production in our days takes place today in northern Germany. And this is where we get our Tonkin lacquer from, cooked and produced exactly as it has always been, with good craft traditions in mind.
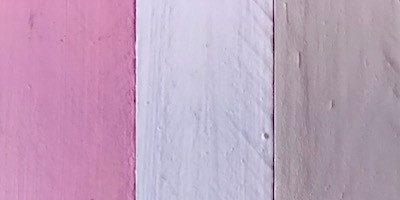
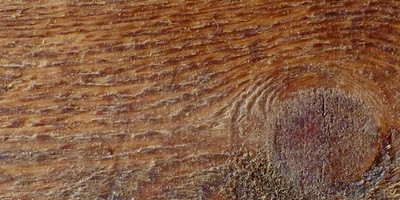
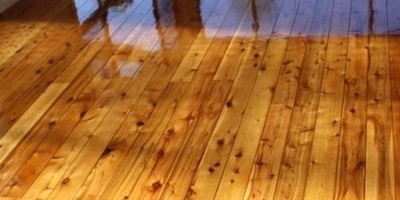
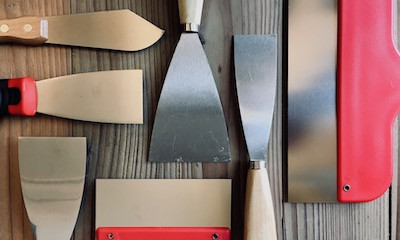
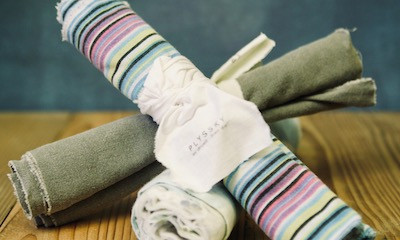
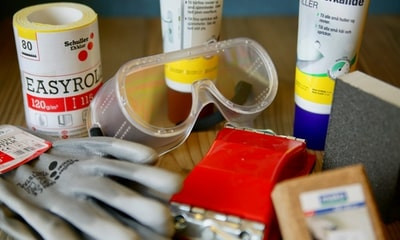
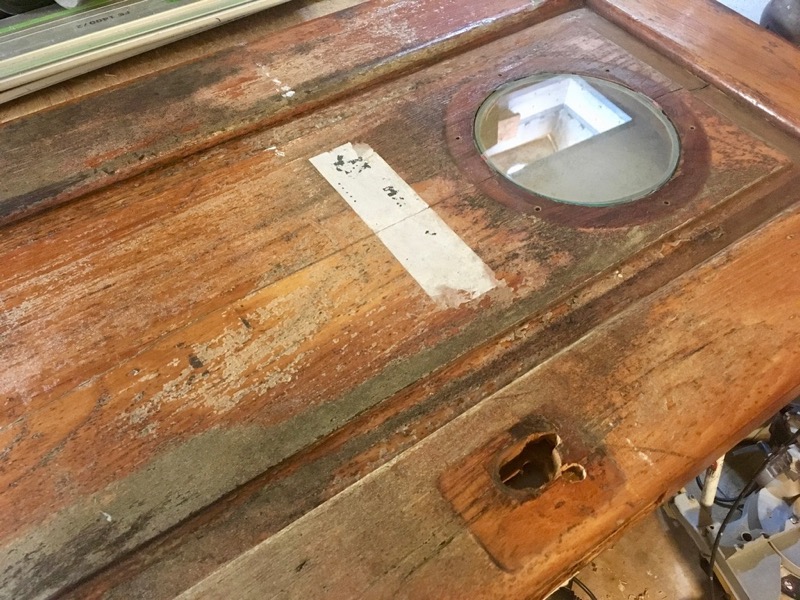
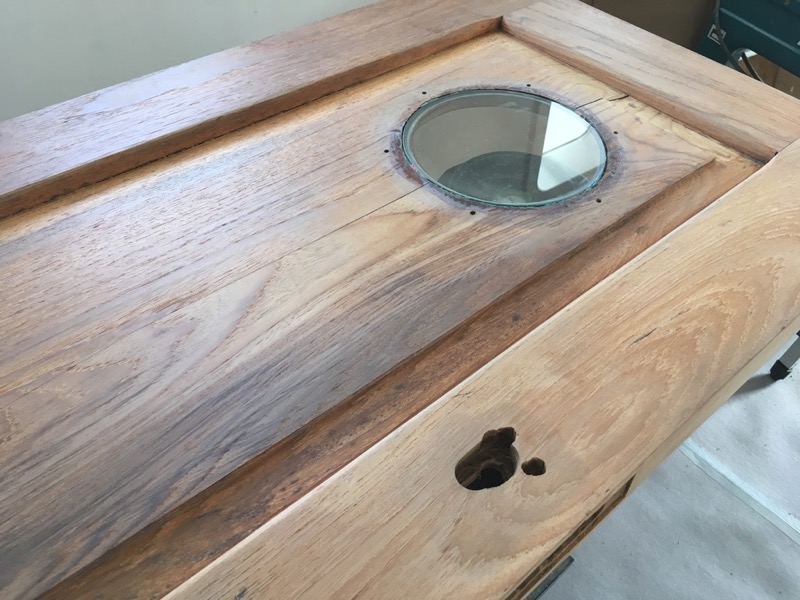
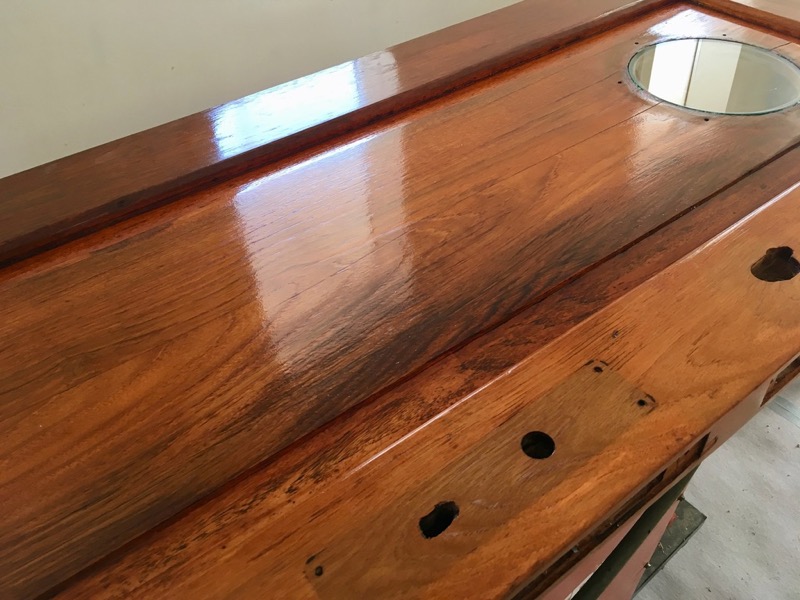
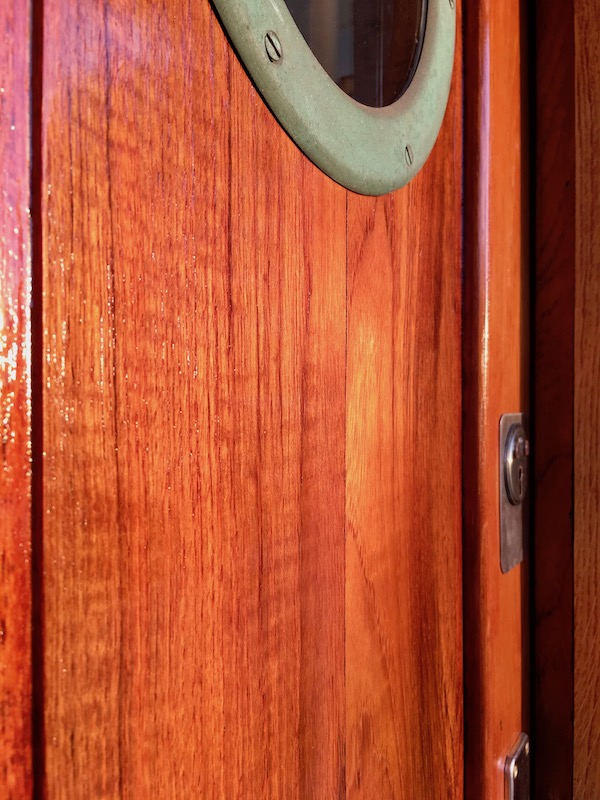
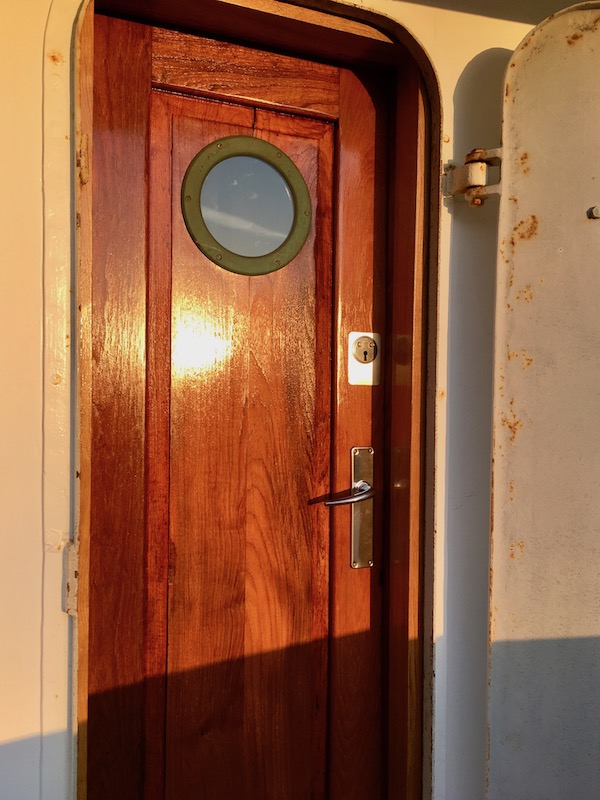
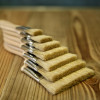
I have restored an old ship's door made out of oak. And here I used tonkin varnish to surface treat the door. After it had been sanded well and thoroughly, to remove old varnish and time patina. Here are some process pic’s of the project
 |
 |
 |
 |
 |
 |
Tonkin lacquer can be used both indoors and outdoors. And for many different purposes. It can be used alone, as with the ship's door. You can also prime with linseed oil first and subsequently treat with Tonkinlak, then the substrate will be more saturated and you may be able to save a layer of Tonkinlak. You can put it on top of linseed oil paint to give a more durable surface. Another option is to mix Tonkin lacquer with linseed oil paint (max 10%), to make the linseed oil paint more durable, and give a shinier surface.
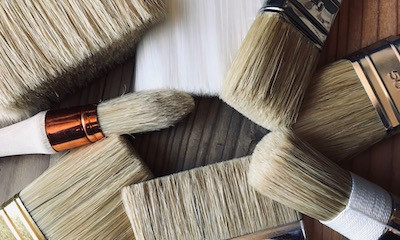
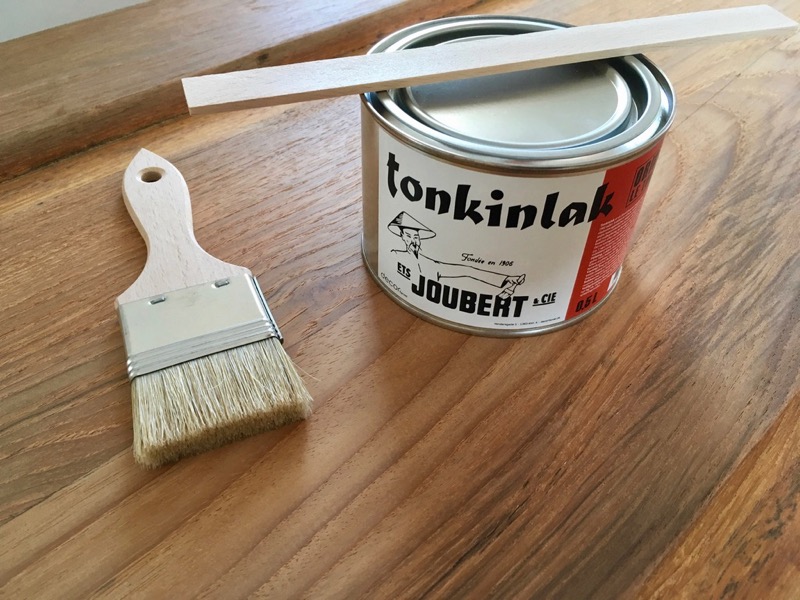
It is important to work with thin layers when applying the Tonkin varnish. More thin layers instead of a few thick layers are always preferable when varnishing, it gives a better and more durable result. It can be an advantage to heat the varnish to 40-50 degrees to make it thinner. It can facilitate the work of getting a thinner layer. You can either make a water bath or you can place it on a hot radiator. The heat also helps to eliminate the fact that you get small bubbles in the varnish. It is best to use a brush with natural hair, that is a little stiff . Then it is easier to work/drag the varnish out in thin layers. After applying the Tonkin varnish, you must "smear" the surface by stroking over the already varnished area with the brush at a leisurely pace, to remove any air bubbles in the varnish.
Application
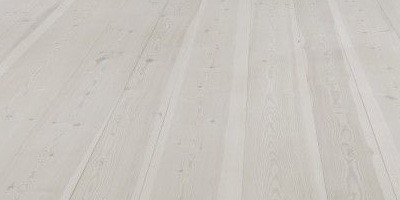
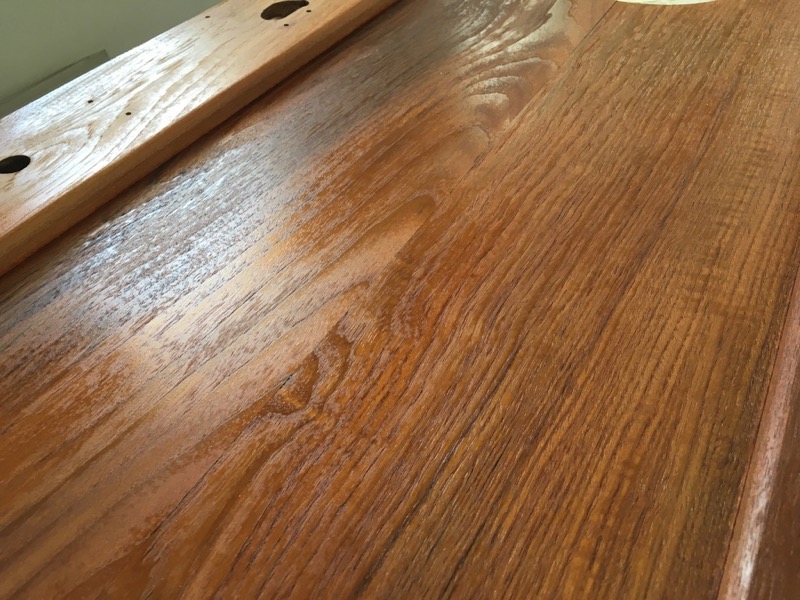
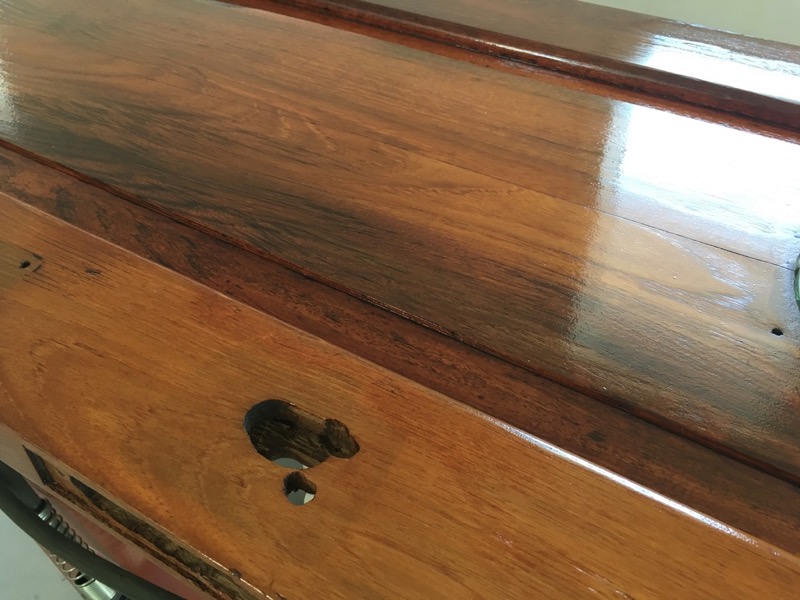
When first applied to freshly sanded and or untreated wood, the surface will often soak unevenly, and after the first layer has dried, you will be able to sense a speckled expression. It usually disappears after the second application. However, it depends on the nature of the wood, how fine it is sanded, what type of wood it is, etc. The number of layers depends a little on how thin layers you manage to apply, and how much the substrate absorbs. But as a general rule, a minimum of 3 coats must be applied. The ship door that I have treated with Tonkin varnish has got 4 layers.
It is important to intermediate-grind between each application. When a layer is dry, you sand the surface lightly with sandpaper that has a grain size of approx. 180-240. It removes any. small impurities that have put in the varnish, and also makes the adhesion between the layers better. It is especially important that after the first layer you remember to intermediate sand, as the surface often feels a little rough after the first application of Tonkin varnish on untreated wood.
The drying time between each layer changes slightly. The first layer dries faster, as the wood absorbs a lot on first treatment. The subsequent layers dry more slowly, as the wood is now saturated and therefore the entire drying process takes place by absorbing oxygen from the air. As with linseed oil, a polymerization (linking) of the oil molecules takes place by adding oxygen. The varnish actually becomes a bit heavier / fuller as the oxygen is absorbed in the Tonkin varnish ,. And since the varnish does not contain any solvents, nothing evaporates.
 |
 |
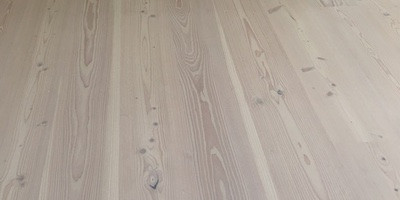
If you have large surfaces that need to be varnished, eg a floor. You can also use a short-haired roller to distribute the varnish on the surface. However, you should still try to roll out the varnish well. There will appear a lot of small micro bubbles in the surface when using a roller. They have to be removed, and here a brush must be use to burst the small bobles. After rolling the Tonkin Varnish on the surface, pull the brush over the rolled area to remove the small ceiling bubbles.
It is important to apply the tonkin varnish in the fiber direction of the wood, ie along the board, a floor, for example. Tokin lacquer is a flexible and strong lacquer and after it has been cured, one should expect 3-4 weeks of curing time. Under normal conditions it will be surface dry after 2-3 days. after each applied layer. But as I said, it takes 3-4 weeks before you e.g. can move round with furniture and the like on the floor. Alternatively, thick cardboard can be laid out on the walkways after 4-5 days. Then the floor still has the opportunity to harden (absorb oxygen from the air), while you can use the floor to walk on, but you still have to be careful about placing heavy things on the surface.
Application floor
Brushes and other items can be cleaned in liquid brown soap and warm water. The brush is rubbed with liquid brown soap and rinsed with warm water. The process is repeated until all the varnish has been washed out of the hairs. When using the brush again, loosen the hairs on the brush (can get a little stiff in it) by working the brush with fingers and the palm of your hand. Then the brush is ready for use once again. I recommend that you clean your brushes in between each coats of use, it makes the brush last longer, even if it takes its time cleaning the brush again and again.
Cleaning of the brush
If you take your time and are careful with your work, the tonkin varnish can be a good solution. The more soul you put into the process, the more beautiful the result, and it will lasts for many years.
Carpe Diem !
BB