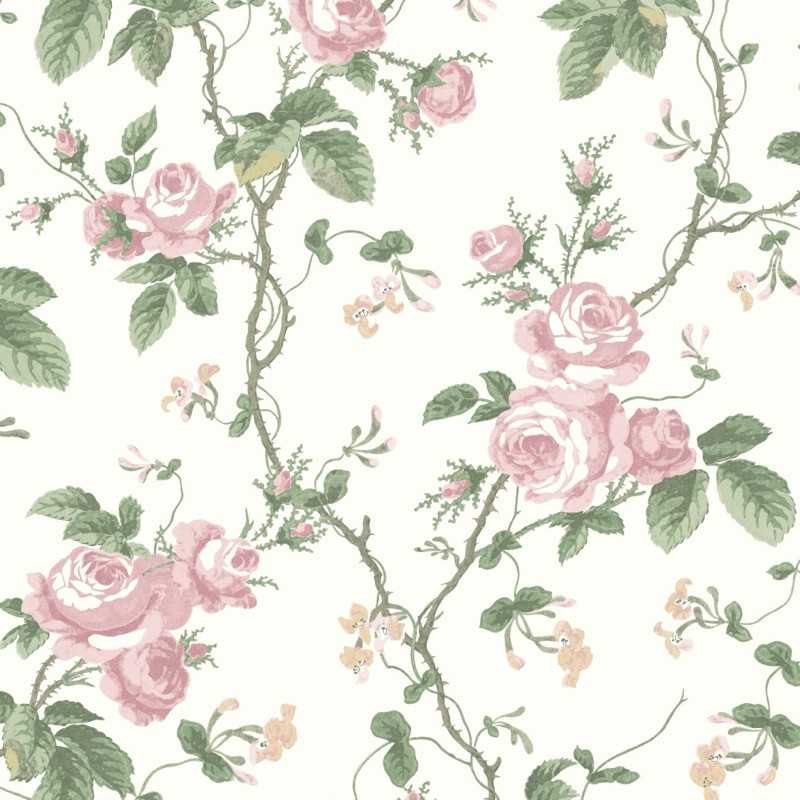

Borås Wallpaper

We strive to deliver within 2-4 business days. NOTE! on wallpaper there is 7-14 days delivery time.

We have a 30 day return policy. Tinted paint and wallpaper are an exception. They cannot be returned
Boråswallpaper was founded in 1905 by Valdemar Andrén with the vision that everyone should be able to create a more beautiful home with the help of wallpaper. Borås has grown in size over time, and has now been producing beautiful wallpapers for more than 100 years and is Sweden's oldest and best-known wallpaper manufacturer. Anchored in a classic and timeless Scandinavian tradition, Borås is constantly developing new, beautiful wallpaper designs.
Setup
Before you start
Before you start with the wallpapering itself, the walls must first be properly prepared. Nails and screw holes must be filled and the walls must be clean, smooth and dry. If the walls have previously been treated with a glossy paint, they must be lightly sanded so that they appear matt. If, on the other hand, the walls are raw and absorbent, they must first be glued over, as otherwise the walls will absorb the glue that must bind the wallpaper to the surfaces. Substrates such as plaster and chipboard must also be primed before wallpapering. Glue the walls the day before the wallpaper installation.
Note! Paint types that are strongly alkaline, such as lime and silicate paint, can damage the design in wallpapers with metal foil. If you want to put up wallpapers of this type on walls painted with strongly alkaline paints, you can put up a layer of primer first. Alternatively, a barrier primer can be used. If you choose to put up base paper, it must be hung horizontally and dry completely before proceeding with the wallpaper installation.
Sockets
Switch off the power and remove any light switch frames, faceplates and socket covers so the wallpaper can enter behind. Then the end result will be much nicer.
Get off to a good start
The best place to start is the least visible place in the room. For example, behind a piece of furniture. This will typically be where the pattern repeat will not fit when the room is finished.
The first lane is the most important
The first lane affects all the following, so it's important to spend time getting it right. Unfortunately, you cannot assume that your walls are completely straight, so do the following: Measure the width of the paper minus 1 cm from the left corner of the wall, and mark with a pencil. Place a spirit level or string with a plumb bob on the end and draw a vertical line on the wall from top to bottom. Measure the height of your wall and add 10 cm (5 cm top and bottom) and cut or cut your first strip of wallpaper. If you have chosen a wallpaper with a special motif or design, you must make sure that it is positioned correctly before you cut the wallpaper.
If you have chosen a panel design, the courses are set up in the order indicated by the numbering on the rolls.
Bonding
When the guided path is ready, you roll glue on the wall in an even and full layer with a roller. Make sure the glue is well stirred and lump-free. You only have to roll glue on the width of the track plus an extra 10-20 cm. The glue dries relatively quickly and you must therefore glue continuously, strip by strip, otherwise the glue will have no effect. If glue gets on the ceiling or panels, remove it with a damp cloth or sponge before it has time to dry.
Setup
Carefully set up the first course loosely. Check that the pattern faces correctly and that you have approx. 5 cm overlap at floor and ceiling and 1-2 cm in the corner at the adjacent wall. Roll approx. 50 cm out of the roll. You hold the top of the roll against the wall with one hand and adjust with the other while the glue is wet so that it matches the plumb line you made earlier. When the track is aligned at the top of the plumb line, you slowly roll the rest of the track down to the floor.
Then use a rubber spatula or wallpaper brush and work from top to bottom. Press the strip carefully against the wall and remove any air pockets by smoothing from the center towards the sides of the wallpaper.
Continue in a similar fashion around the room one lane at a time. Each new wall is started as described here.
Corners
Corners are wallpapered with two separate lanes. One must overlap the adjacent wall by 1-2 cm and the other must hit exactly in the corner.
Sockets and light switches
You can remove excess wallpaper around sockets and light switches with a sharp knife and metal ruler before refitting socket frames, faceplates and socket covers. Make sure the power is off!
Which glue should you use?
We recommend a pre-mixed starch-based tissue adhesive. PVA or PVC adhesives can cause surface staining and adhesion problems and are therefore not suitable.

Borås Wallpaper


